Beyond the Surface: The Power of Radiographic Testing

By Engaged Expert
Joshua AllenJoshua Allen is a Radiographic Testing technician with over 12 years of experience in the energy, aerospace, and manufacturing sectors.
The Radiographic Process
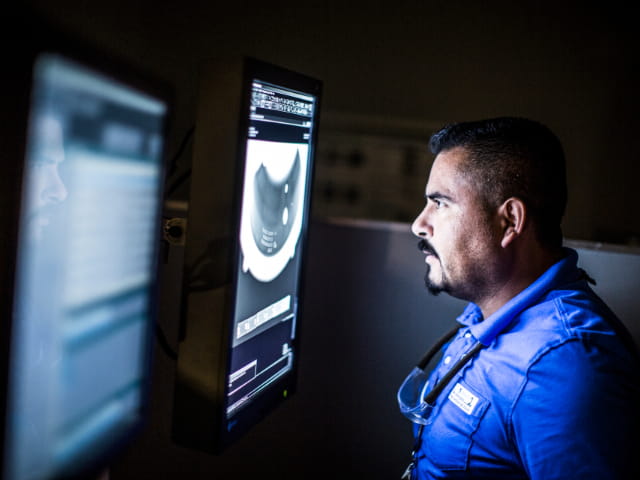
Industrial radiography was widely practiced in arms production during World War II and has since been adopted into many other manufacturing and service sectors. The testing process works in much the same manner as a medical X-ray. Radiation from an X-ray machine or radioisotope passes through the product, and the varying densities within the material cause the radiation to be absorbed or transmitted differently. These transmitted variations are recorded as a grayscale image in which areas of contrasting density, such as a void or similar discontinuity, appear darker or lighter on the image compared to the surrounding material. This allows technicians to locate and measure internal defects that could adversely affect the product’s reliability.
Radiography is particularly useful for inspecting metals, composites, and other solid materials. Major manufacturers and industrial regulations require some products to comply with maximum defect levels identified in radiographs before even being put into service. Many items and services you interact with on a daily basis have been inspected by RT technicians at some point in their life cycle. Pipelines that pump natural gas to your neighbourhood, turbine blades of the aircraft you fly on, circuit boards in your electronics, and engine components of your car are all prime examples.
Variables of Radiographic Testing
There are many variables to an accurate radiographic inspection. Since the energy utilized is a form of electromagnetic radiation similar to visible light, geometric principles apply to radiographs in much the same way as casting a shadow on a wall with your hand and a flashlight. The larger the flashlight and the closer your hand to the light, the more the edges of the shadow begin to blur. The distances, sizes, and angles involved can distort the image relative to the object. Different grades of film and detectors offer trade-offs between speed and image quality. A tiny indicator of similar material known as an Image Quality Indicator (IQI) is included in the inspection serving as proof that the technique is sufficiently sensitive to detect small details. Various calculations are used to determine the appropriate radiation exposure energy and intensity. All these factors require that RT technicians are well-versed in their craft and associated industrial standards.
While conventional film radiography has been a mainstay of NDT for nearly a century, modernized methods provide improved capability as well as time and cost savings. CR (Computed Radiography) replaces film with reusable plates that are scanned into a computer allowing for digital manipulation of images over a greater range of material thicknesses. DR (Digital Radiography) makes use of panels that generate a digital image allowing for real-time or greatly reduced turn-around times that can be scaled with automated assembly lines. CT (Computed Tomography) combines digital radiographs from many different angles to form a fully 3D image which can be integrated with engineering software.
Pros and Cons of Radiography
Radiography provides an intuitive visual record of the internal structure of an object rather than just a printout of test results. This record can be analyzed, stored, and referenced for future inspections or quality control purposes. Radiography is capable of inspecting complex geometries and unusual materials that may be challenging or impossible for other NDT methods. In many cases no surface preparation is needed, and the component can be inspected onsite in an as-is state.
On the downside, radiography involves the use of ionizing radiation which requires special safety considerations, licenses, and equipment. It is also inferior to some ultrasonic and magnetic testing methods when it comes to detecting fine laminar imperfections that are more common in rolled, forged, or extruded metal products.
“With radiography's insights, manufacturers can identify and address issues early, preventing potentially catastrophic consequences down the line.”
Finding the Right Lab for Radiographic Testing Needs
Choosing the right lab for radiographic testing is crucial for ensuring the integrity of projects while also adhering to production schedules. Labs with industry-recognized accreditations such as NADCAP, ISO 9712, and ISO 17025 must conform to outside auditing to ensure the integrity of their NDT programs. Different labs will have varying expertise across industries. Technicians experienced in oil and gas welding may have little to no experience in aerospace castings. Labs will also vary in accommodations for on-site inspection, throughput, and limits to the size or thickness of objects that can be accurately inspected.
The Element Advantage
Element boasts a network of over 200 labs worldwide providing unprecedented support in materials testing. Element Houston’s location in the center of the energy and space exploration industries gives it unique exposure to a wide variety of radiographic needs resulting in decades of combined experience inspecting everything from pipe fabrication to aerospace components. Our facility features multiple shielded inspection bays offering both X-ray and gamma-ray sources with conventional film or computed radiography.
Find related Resources

